

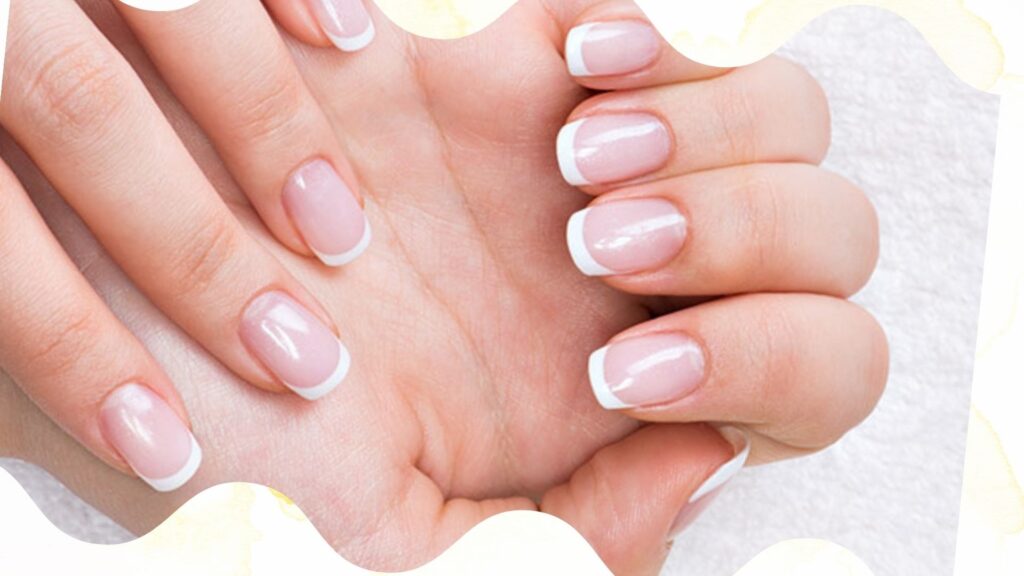
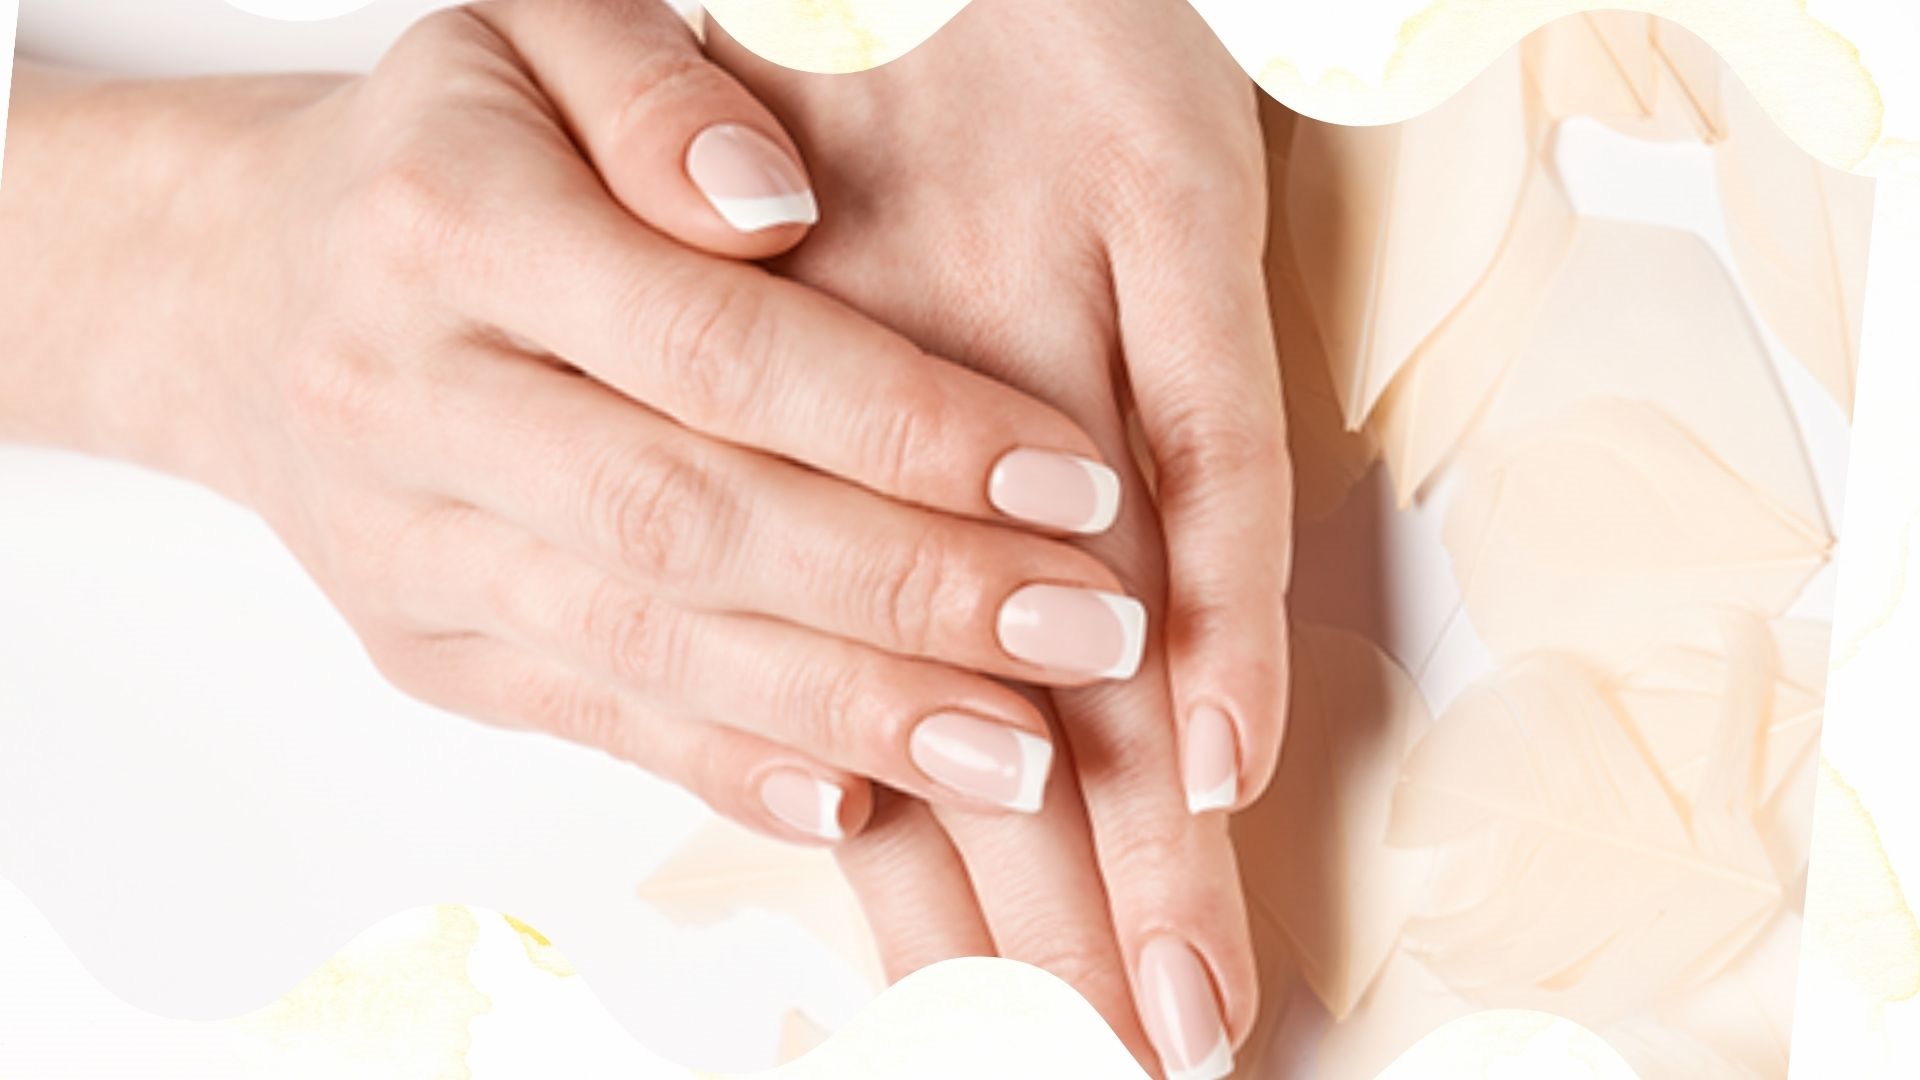
Giving yourself a manicure at home can be a wonderful way to take care of your nails and indulge in some self-pampering. Whether you’re a beginner or an experienced nail enthusiast, this step-by-step guide will walk you through the process of achieving salon-worthy nails from the comfort of your own home. So, let’s dive in and discover the secrets to a flawless DIY manicure!
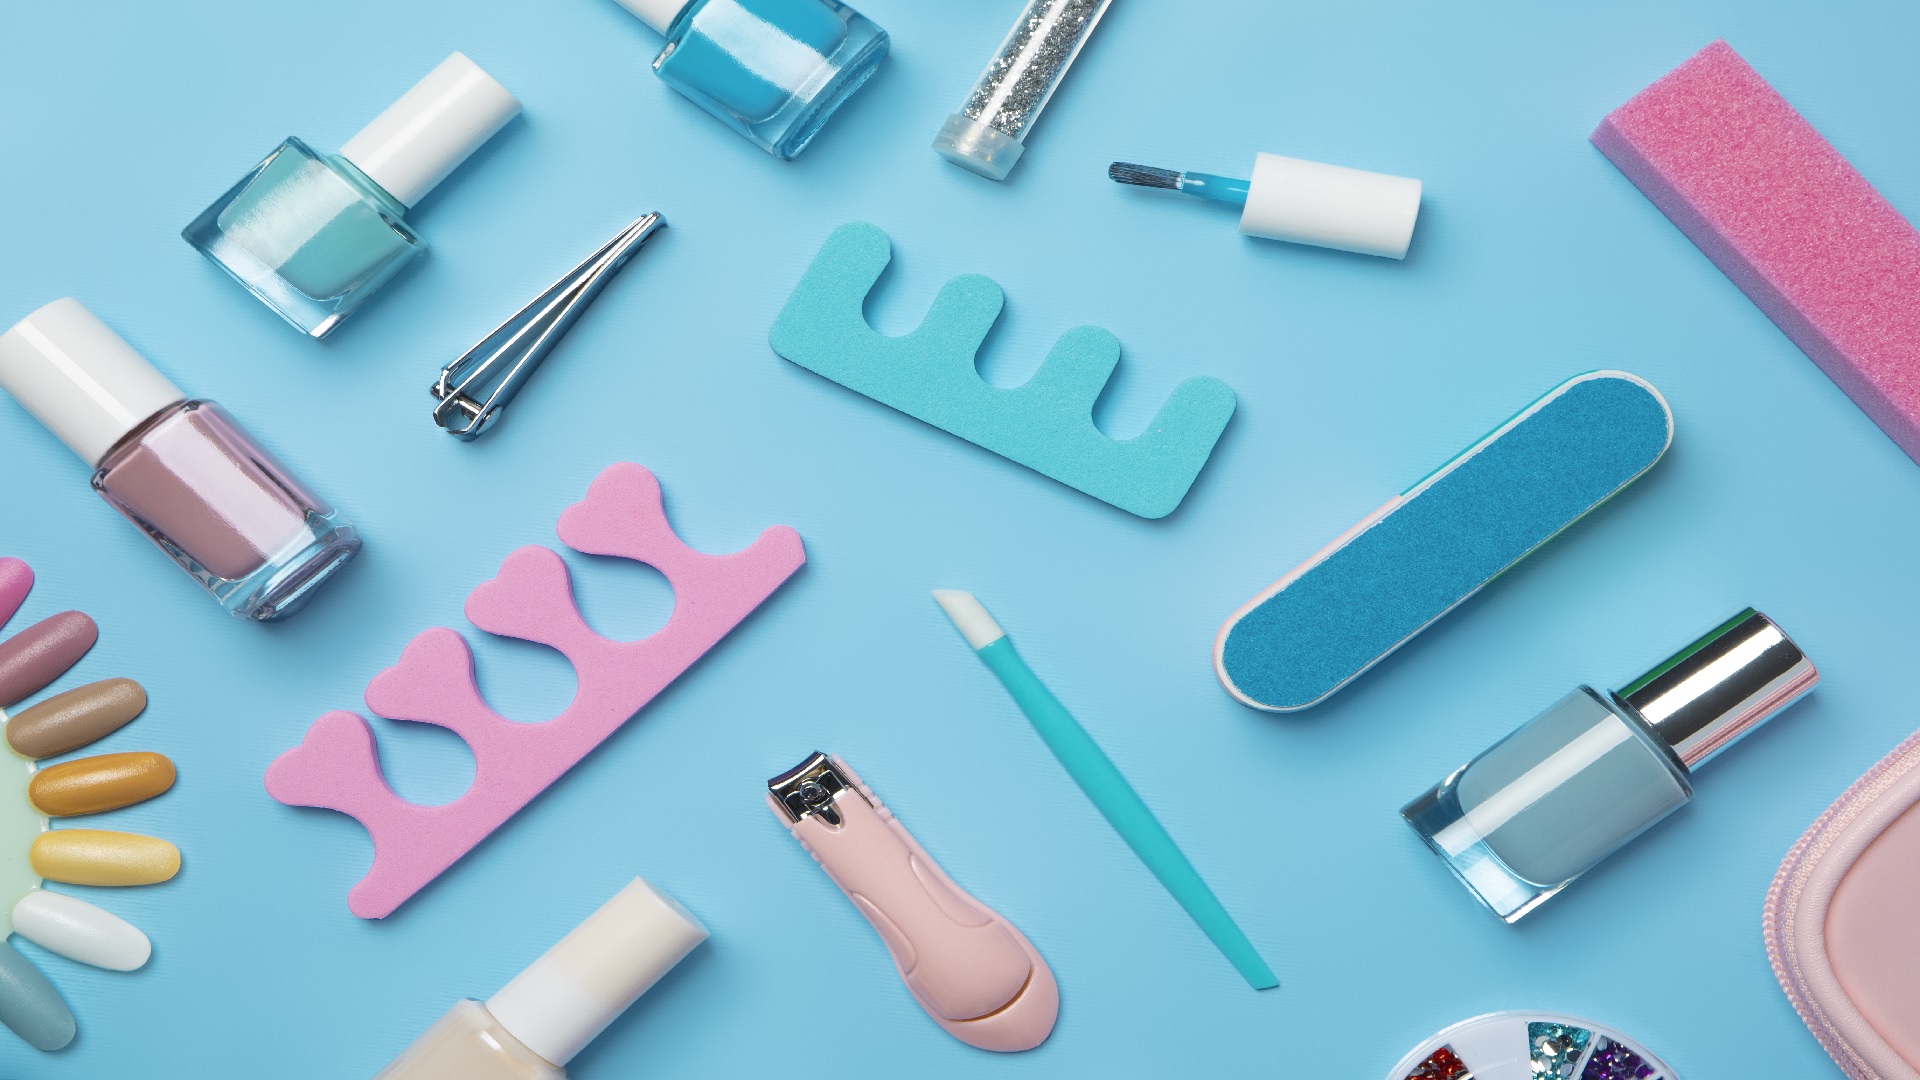
Giving yourself a manicure at home can be a relaxing and enjoyable experience. Here’s a step-by-step guide for beginners: Gather Your Supplies:
- Nail polish remover
- Cotton balls or pads
- Nail clippers
- Nail file
- Cuticle pusher or orange stick
- Cuticle oil or moisturizer
- Hand scrub (optional)
- Base coat
- Nail polish
- Top coat
Sure, here’s a simple step-by-step guide on how to give yourself a manicure at home:
- Remove any nail polish: Use a non-acetone or acetone-based nail polish remover and cotton balls or pads to remove any existing nail polish.
Start by using a nail polish remover to gently remove any existing polish from your nails. Use a cotton pad or ball and swipe it over each nail until the polish is completely gone. Make sure to choose an acetone-free nail polish remover to prevent excessive drying of your nails.
- Soak your nails: Soak your nails in lukewarm water for five minutes to soften your cuticles.
- Apply a cuticle remover cream: Massage it into your cuticles, Once the color is dry, apply a clear top coat to add shine and protect the polish. This also helps extend the life of your manicure.
- Push back and trim your cuticles: Use a tool to do this carefully.
Apply a small amount of cuticle oil to your nail beds and gently massage it in. Use a cuticle pusher or a wooden stick to gently push back your cuticles. Be careful not to cut them, as this can lead to infections or hangnails. Pushing them back will create a clean and neat look for your nails.
- File and shape your nails: Do this according to your preference.
Next, use a nail clipper to trim your nails to your desired length. Be cautious not to cut them too short, as it may lead to discomfort or sensitivity. Then, use a nail file to shape your nails. File in one direction, moving from the sides towards the center, to avoid weakening the nails. Aim for a rounded or square shape, whichever you prefer.
- Buff your nails: Use a buffer to smooth your nails¹.
- Apply a base coat: This helps the nail polish adhere better.
- Apply nail polish: Apply two coats of your chosen nail polish color.
Choose your favorite nail polish color and apply a thin coat to each nail. Start from the base and gently stroke towards the tip. Apply a second coat if needed, ensuring the first coat is completely dry. Remember to leave a small gap around the edges to prevent chipping.
Remember to gather all the necessary supplies before you start, such as nail polish remover, cotton balls or swabs, nail buffer, nail trimmers, nail file, cuticle or hand cream, nail polish, base coat, and top coat. Also, set up your workspace in a way that nail polish and remover won’t damage any surfaces
Allow your nails to dry completely before engaging in any activities. Consider using a quick-dry top coat for faster drying.
Remember to take your time and enjoy the process. With practice, you’ll become more skilled at giving yourself a professional-looking manicure at home.
How to give yourself a manicure cuticles with short nails
Sure, here’s a step-by-step guide on how to care for your cuticles during a manicure:
- Prepare your cuticles: Dry your nails and apply a cuticle cream. This will help soften your cuticles and make them easier to work with.
- Soak your nails: Soak your nails in a bowl of warm water mixed with cuticle oil, olive oil, or body lotion. After a 10-minute soak, dry off and apply cuticle cream or lotion.
- Push back your cuticles: Using a cuticle pusher, also called an orange stick, gently push back the cuticle. Make tiny circles against the cuticle with the pusher. Do not force them back, and never cut your cuticles. Even if the equipment is sterile, removing the cuticle can cause infection and leaves the then-less-protected margin of the skin vulnerable.
- Trim any excess skin: With the cuticle nipper, trim any excess skin. Be careful not to cut too much as it can lead to pain or infection.
Remember, it’s important to be gentle when dealing with your cuticles to avoid any damage or infection. Enjoy your at-home manicure!
Top 6 best diy nail kit at home in 2026
There are several DIY nail kits available on the market, and the best one for you depends on your preferences, needs, and skill level There are several DIY nail kits that are highly recommended by experts and users. Here are a 11 popular DIY nail kits that have received positive reviews:
- Red Carpet Manicure Gel Polish Pro Kit: This kit is rated as the best overall by Forbes
- Modelones Gel Nail Polish Starter Kit: This kit is rated as the best overall by Marie Claire
- Le Mini Macaron Le Maxi Deluxe Gel Manicure Set: This portable kit is recommended by both Byrdie and InStyle
- Gellen Gel Nail Polish Kit: This kit is considered the best value by Byrdie and also recommended by InStyle.
- Morovan Nail Kit: This kit is rated as the best overall by both Byrdie and InStyle. It comes with eight gel colors, including two ombrés and six solids, plus a nail dehydrator, a primer, a base, and top coat, various grooming tools, and a drying lamp.
- Sally Hansen Salon Pro Gel Starter Kit: This kit is designed for at-home gel manicures. It includes an LED lamp, base coat, top coat, and a gel polish color. The gel formula provides a long-lasting and shiny finish.
- Kiara Sky Dip Powder Starter Kit: Dip powder nails have gained popularity, and this kit is a good option for beginners. It includes dip powders, bond, base, seal protect, top coat, nourish oil, and other essentials. It’s known for being user-friendly.
- Makartt Poly Nail Extension Gel Kit: If you’re interested in trying polygel nails, this kit is a good choice. It includes polygel, slip solution, dual forms, a brush, and a file. Polygel is a combination of acrylic and hard gel, providing a lightweight and durable finish.
- Red Carpet Manicure Color Dip Starter Kit: This is another dip powder kit that’s popular for at-home use. It comes with everything you need, including base coat, activator, top coat, and several dip powder colors. The brand is known for its salon-quality results.
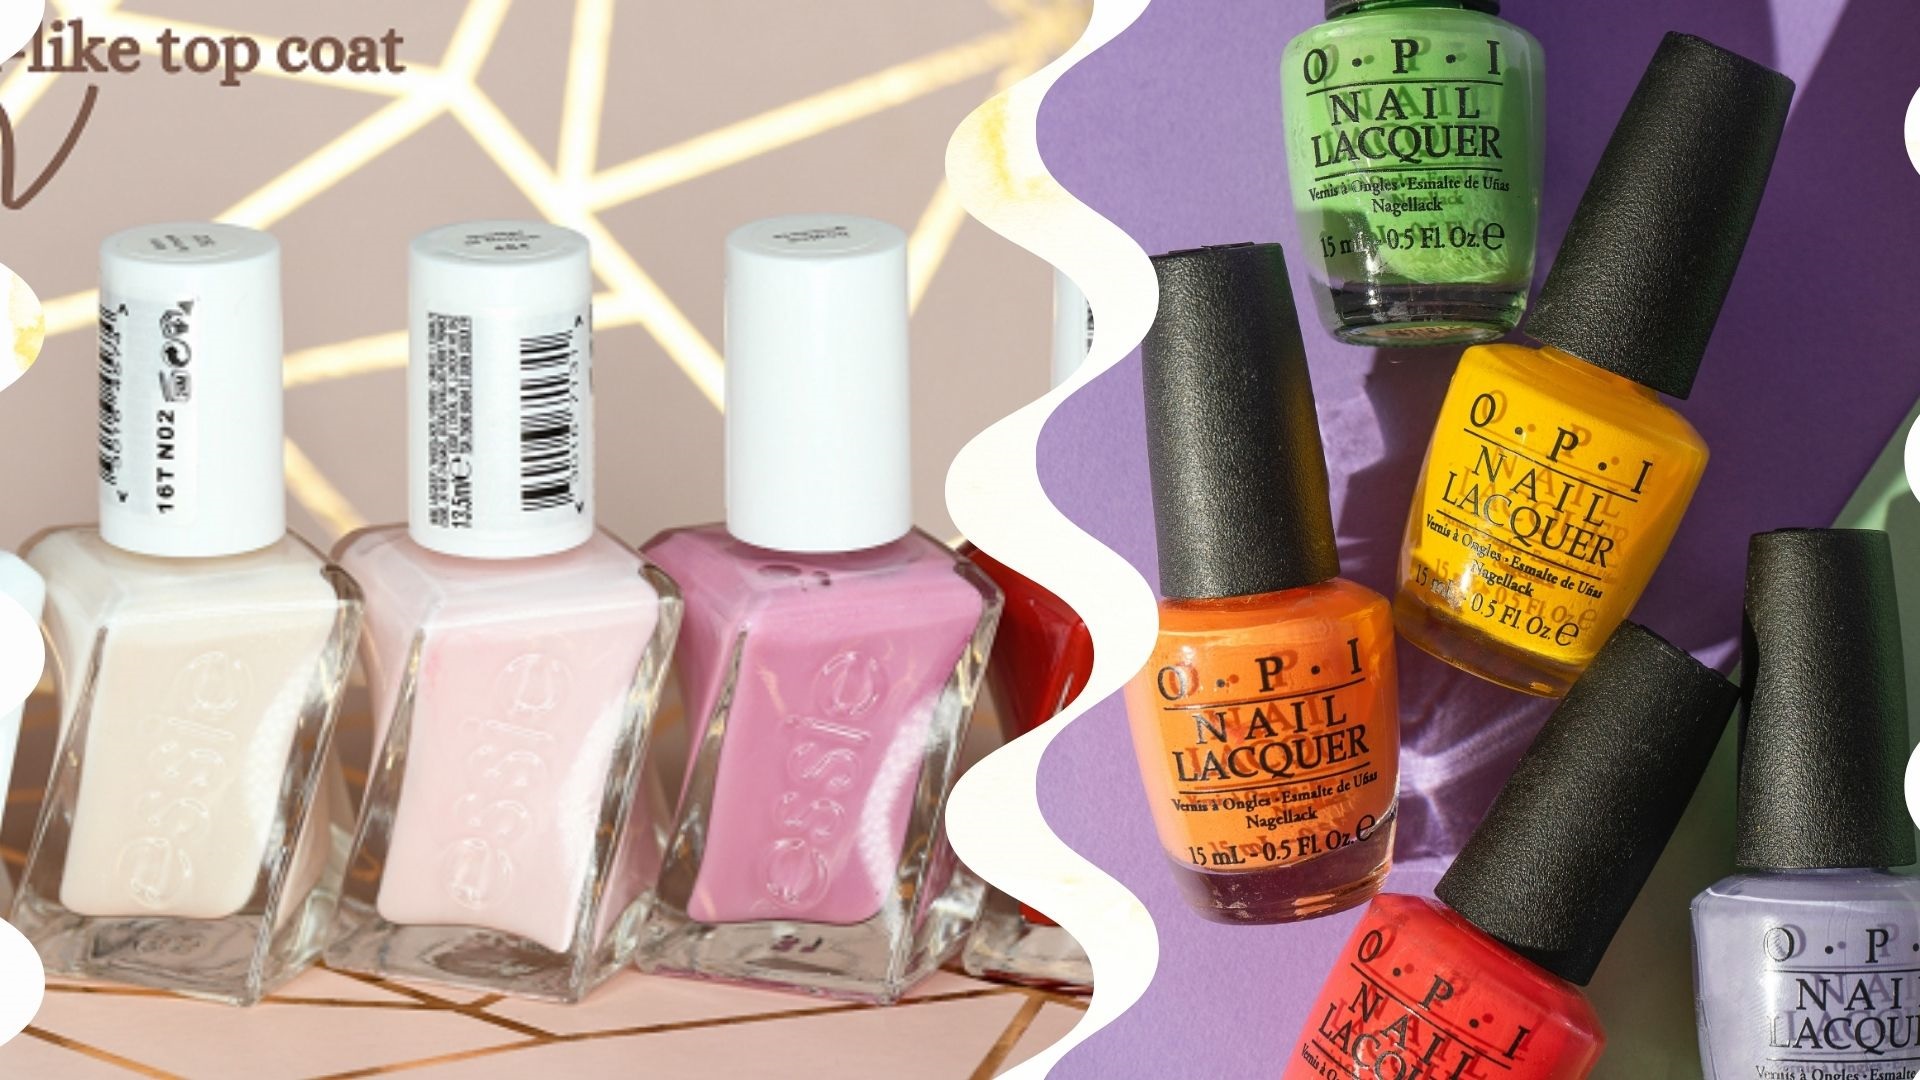
- Essie Gel Couture Nail Polish Kit: If you prefer traditional nail polish with a gel-like finish, Essie Gel Couture is a good option. The kit includes a color polish and a top coat. The gel-like formula is designed to last longer than regular polish.
- When choosing a DIY nail kit, consider factors such as the type of manicure you want (gel, dip powder, traditional polish), the tools included in the kit, and your skill level. Additionally, reading customer reviews can provide valuable insights into the performance and ease of use of a particular kit.
Please note that the best kit for you will depend on your personal preferences and needs. It’s always a good idea to read reviews and consider the types of manicures you want to do before making a purchase. Happy manicuring!
How often should I give myself a manicure

The frequency of manicures can vary depending on personal preferences, lifestyle, and the health of your nails. Here are some general guidelines
- If you prefer to keep your nails pristine most of the time, you might want to give yourself a manicure every week.
- If you want to make your manicure last longer than a week, you can extend the time of your manicure to ten days using a long-wear polish and protecting your hands while doing chores.
- For most people with healthy nails, there is no need to wait any time at all in between manicures. Regularly trimming nails and using beneficial cuticle cream and oils can actually improve your nail health.
- However, it is generally recommended that you get a manicure every 2 to 3 weeks.
Remember, these are just guidelines and the best frequency for you may depend on your individual needs and circumstances. Enjoy your at-home manicures!
What are some nail polish colors that you recommend?
There are many popular nail polish colors that you might like. Here are some recommendations based on various sources:
- Nude: Nude shades are timeless and go well with everything. They can give your nails a clean, refined look.
- Sapphire Blue: This color is trendy and can add a pop of color to your look.
- Delicate pink shades like Chanel Le Vernis Ballerina and Essie Ballet Slippers are popular for their subtle elegance²³.
- Bold White: Bold white is a summer hit and can be worn into the fall and winter seasons too.
- Coral red is a vibrant color that can brighten up your look.
- Mauve (Purple-Grey): Mauve is a unique color that’s both gorgeous and subtle.
- Dark Peacock Green: This color is a bold choice that can make a statement.
- Deep purple is a classic color that’s always in style.
- Black nails are trending right now and can be worn in any season.
Remember, the best color for you will depend on your personal style and what you feel comfortable wearing. Enjoy exploring these colors!
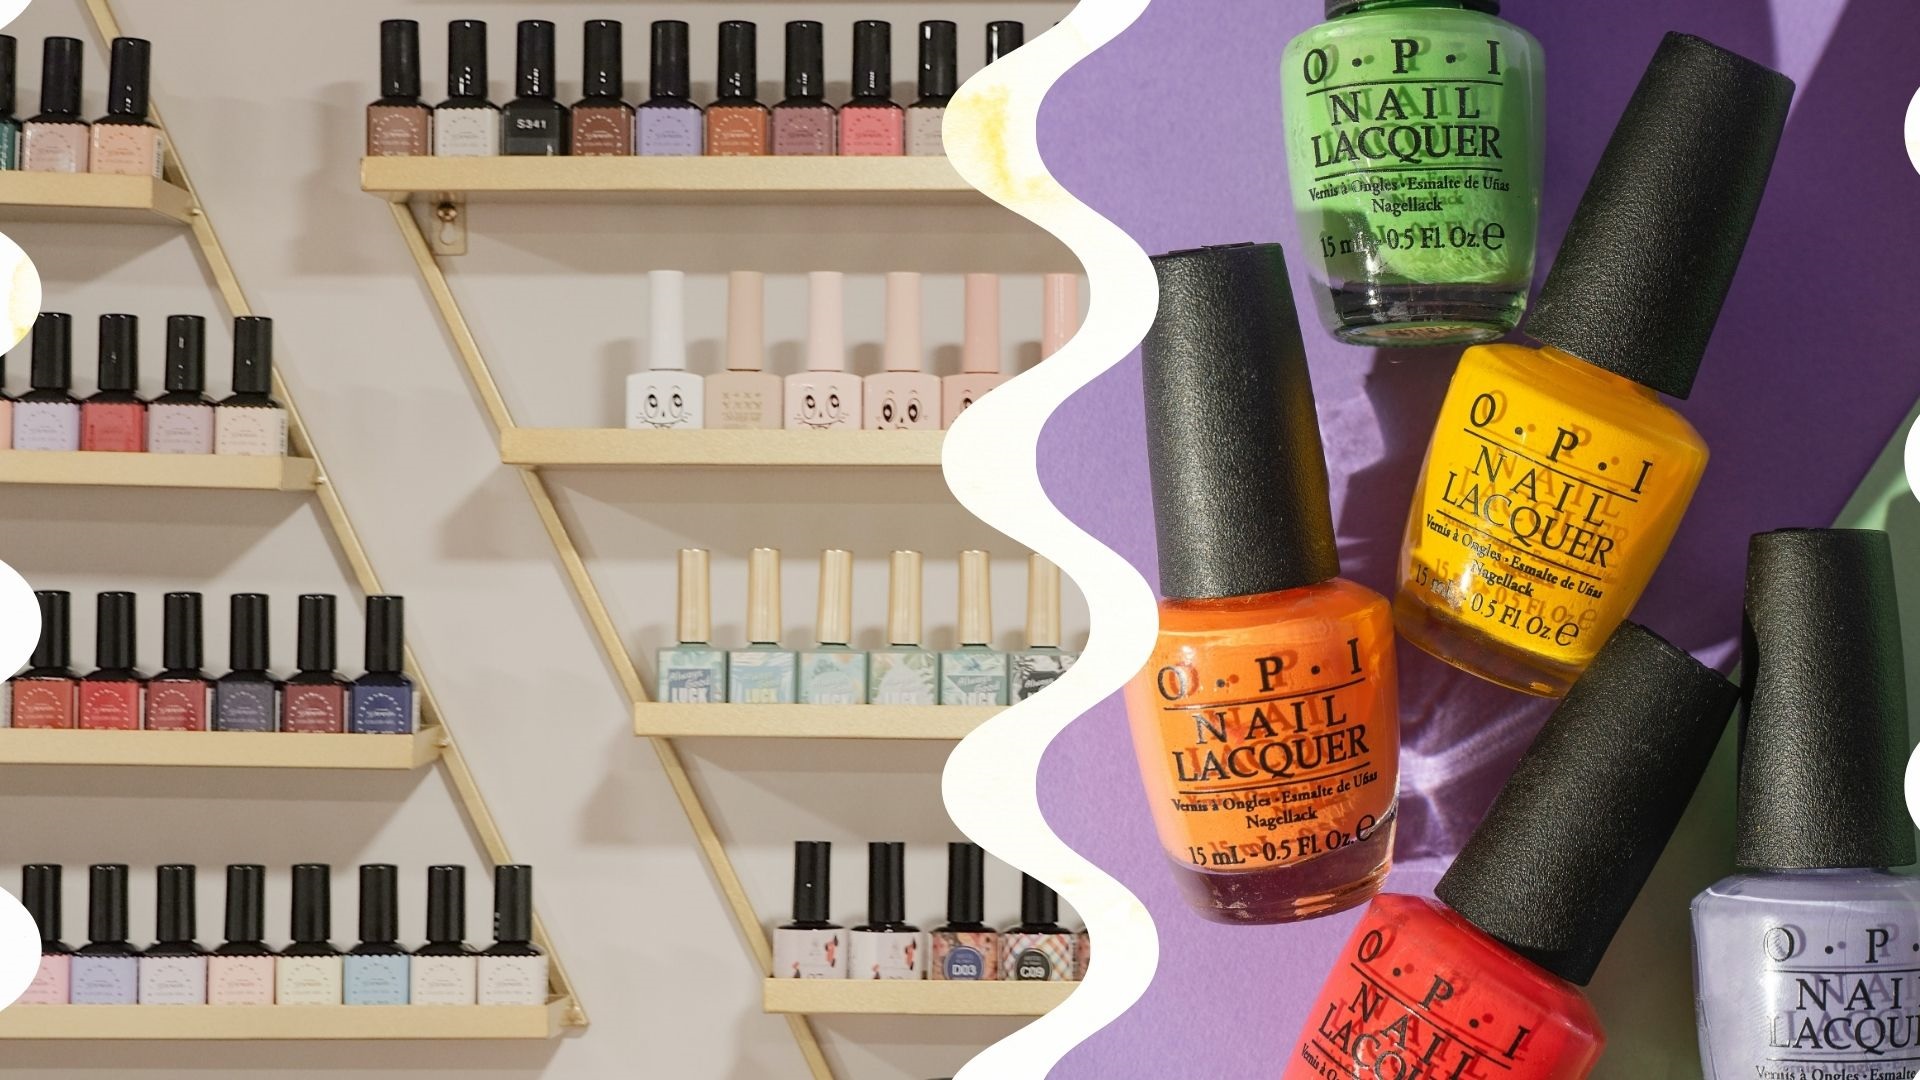
What are some popular nail polish brands?
There are several popular nail polish brands that are highly recommended by experts and users. Here are the top 10 nail polish brands in the world of them:
- Essie is arguably the most classic, iconic, and recognized polish brand ever. It’s a salon staple and a must for pro manicurists, beauty editors, and consumers.
- OPI: Another OG of the polish scene, OPI launched in 1981. It’s known for its high-performing lacquer formula and countless new shade collections that launch constantly.
- JINsoon is a professional pick that is long-lasting. It’s a 10-free nail line formulated without any harsh chemicals.
- Dior’s nail polish selection is as luxurious and beautiful as their ready-to-wear clothing and accessories.
- Manucurist provides a gentler approach to gel polish.
- Olive & June is a popular vegan polish brand.
- Sally Hansen is a top pick for drugstore polish.
- Gucci Beauty is a top luxury pick.
- Chanel is another beloved luxury brand that consistently features long-lasting formulas.
Please note that the best brand for you will depend on your personal preferences and needs. It’s always a good idea to read reviews and consider the types of manicures you want to do before making a purchase. Happy manicuring!
Conclusion:
Congratulations! You have successfully given yourself a professional manicure at home. By following these simple steps, you can achieve salon-quality nails without leaving the comfort of your own space. Remember to take your time, be patient, and enjoy the process. With practice, you’ll become a pro at giving yourself a flawless manicure every time. So, sit back, relax, and admire your beautiful nails!


 to have themselves prettified
[…] Related articles: how to give yourself a manicure at home for beginners […]