
Are you tired of spending a fortune at the nail salon every few weeks? If you’re seeking an affordable and convenient alternative, look no further than DIY gel nails. With a little practice, you can achieve long and glamorous nails right in the comfort of your own home
Creating DIY gel nails at home can be a fun and rewarding experience, especially for beginners who are looking to save money and customize their nail art. This guide will walk you through the process of doing gel nails at home, step-by-step, along with tips to ensure you achieve a salon-quality finish.

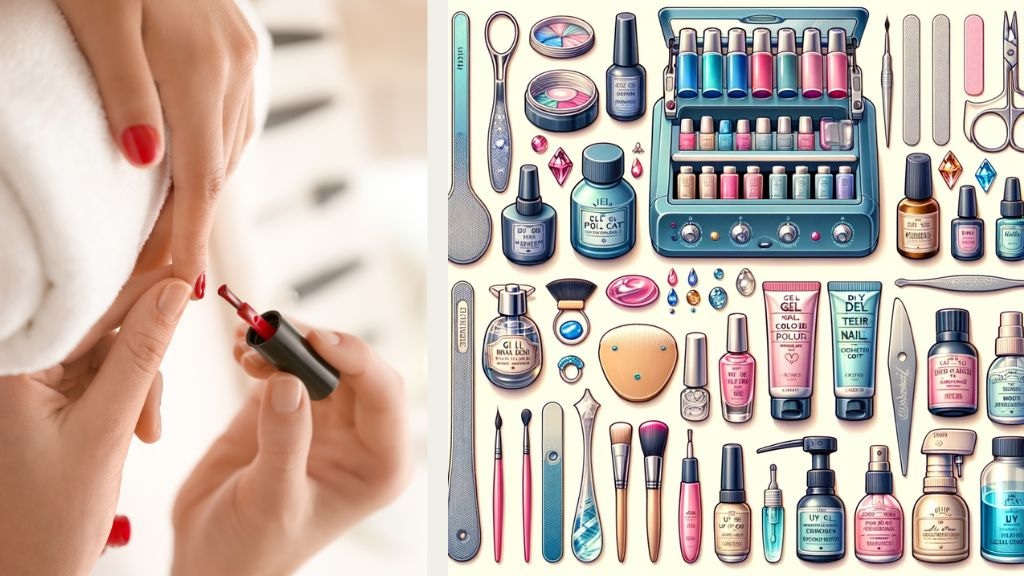
What You Need:
- UV or LED lamp: Essential for curing the gel polish.
- Gel base coat, gel polish, gel top coat: Specific for gel nail applications.
- Nail file and buffer: To shape and smooth your nails.
- Cuticle pusher and cuticle oil: To prepare your cuticles.
- Alcohol wipes or nail cleanser: To clean the nail surface.
- Lint-free wipes: For cleaning without leaving residue.
- Manicure tray: ensuring you achieve professional results effortlessly.
Step-by-Step Instructions:
Prepare Your Nails:
- Clean and Shape: Start with clean, dry hands. Use the nail file to shape your nails to your desired length and shape.
- Buff Nails: Lightly buff the surface of each nail to create a rougher surface for the gel to adhere to.
- Push Back Cuticles: Gently push back your cuticles with a cuticle pusher. Avoid cutting your cuticles to prevent infection.
- Cleanse Nails: Wipe each nail with an alcohol wipe or nail cleanser to remove oils and dust.
Apply Base Coat:
- Apply a thin layer of gel base coat to your nails, taking care to avoid the skin around your nails.
- Cure the base coat under a UV or LED lamp according to the manufacturer’s instructions, typically between 30 seconds and 2 minutes.
Apply Gel Polish:
- Apply a thin layer of gel polish over the cured base coat. Be sure to cap the free edge of your nail (run the brush along the nail tip).
- Cure the polish under the lamp as directed, usually for 30 seconds to 2 minutes.
- For more opaque coverage, apply 2-3 thin layers, curing each layer before applying the next.
Apply Top Coat:
- Once your final color layer is cured, apply a thin layer of gel top coat to seal in the color and add gloss.
- Cure the top coat under the lamp according to the time recommended by the brand.
Clean Up and Hydrate:
- If your gel polish feels tacky after curing, wipe each nail with a lint-free wipe soaked in gel cleanser or alcohol.
- Apply cuticle oil to rehydrate your cuticles and skin around the nails.
What do you need for DIY gel nails?
For DIY gel nails at home, you’ll generally need 9 the following items:
- Gel Nail Polish Kit: Includes base coat, gel color polish, and top coat.
- Nail Prep and Primer: To cleanse the nails before applying polish and improve adhesion.
- Nail File and Buffer: For shaping nails and smoothing the nail surface.
- Cuticle Pusher: To push back cuticles for a clean base.
- UV or LED Lamp: For curing the gel polish between layers.
- Nail Cleanser or Isopropyl Alcohol: To remove tacky residue after curing.
- Nail Polish Remover: Preferably acetone, to remove any previous polish.
- Nail Art Tools (optional): For adding designs, gems, or patterns.
- Cuticle Oil: To nourish the cuticles after finishing the manicure.
Make sure to follow proper safety measures and application techniques to get long-lasting and professional-looking results!
How difficult is it to do your own gel nails?

Doing your own gel nails at home can be challenging initially, but it becomes easier with practice. Here are some potential difficulties and tips to overcome them:
- Application Technique: Applying gel polish evenly without touching the cuticles requires steady hands. Practicing on a few nails first and using thin layers can help.
- Curing Time: Understanding your UV/LED lamp’s curing time is crucial. Test with short curing times first to avoid over-curing and damaging the polish.
- Removing Residue: A tacky layer forms after curing, which is normal. Using isopropyl alcohol or a nail cleanser easily removes it.
- Shape and Prep: Prepping the nails (filing, pushing cuticles) ensures better adhesion. Skipping these steps can lead to peeling.
- Removal Process: Removing gel polish can be tricky and requires patience. Acetone wraps or soaking and gentle scraping will help, but be careful not to damage your nails.
- Durability: DIY gel nails may chip if not sealed correctly. Make sure to cap the nail tips with the top coat.
If you’re patient and follow a methodical approach, you’ll become more proficient over time!
How to do diy gel nails for beginners with UV Light?

Here’s a step-by-step guide for beginners to do their own gel nails using a UV light:
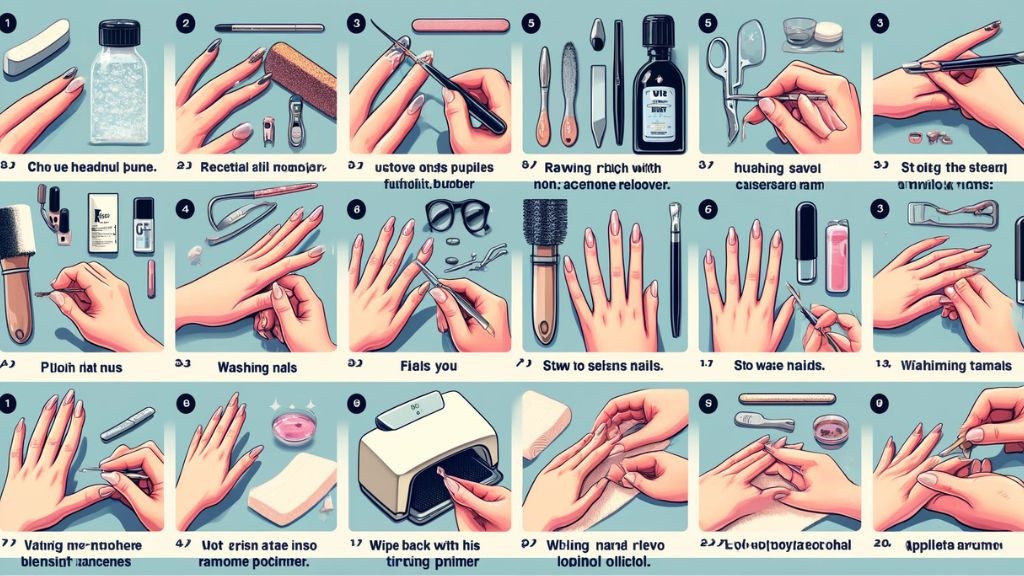
Preparation:
- Nail Cleaning: Start with clean nails. Remove any old polish using a non-acetone remover.
- Trim and Shape: Trim your nails to the desired length and shape them with a file.
- Cuticle Care: Push back your cuticles gently with a cuticle pusher.
- Buff and Smooth: Lightly buff the nail surface with a buffer to remove the shine and ensure the gel adheres better.
- Clean Surface: Wipe each nail with isopropyl alcohol to remove oils and dust.
Application:
- Base Coat: Apply a thin layer of gel base coat to each nail, avoiding contact with the cuticles. Cap the tips of your nails to prevent chipping.
- Cure Base Coat: Place your hand under the UV light for the recommended time (usually 1-2 minutes).
- Gel Color Coat: Apply a thin layer of your chosen gel color. Keep it thin to avoid bubbling and uneven curing. Cap the tips again.
- Cure Color Coat: Cure under the UV light for 1-2 minutes.
- Repeat Color Application: Apply a second coat of gel color for better coverage, and cure it under the UV light.
- Top Coat: Apply a thin layer of top coat, capping the tips as well, to seal and protect the color.
- Final Cure: Cure the top coat under the UV light for the recommended time.
Aftercare:
- Clean Sticky Residue: Use isopropyl alcohol or a nail cleanser to remove any sticky residue.
- Hydrate Cuticles: Finish by applying cuticle oil to keep your cuticles hydrated.
With practice, you’ll refine your technique, so don’t worry if it doesn’t turn out perfectly the first time!
Read more: how to dry gel nail polish at home without uv lamp or uv light?
How do you prepare gel nails at home?
To prepare your nails at home for gel application, follow these steps:
Gather Supplies: Make sure you have the essentials like a nail file, buffer, cuticle pusher, isopropyl alcohol or nail cleanser, UV/LED lamp, base coat, gel polish, and top coat.
Clean and Trim Nails:
- Remove old nail polish using a non-acetone remover.
- Wash your hands thoroughly to remove oils and debris.
- Trim your nails to the desired length and shape them with a file.
Cuticle Care:
- Soak your fingers in warm water for a few minutes to soften the cuticles.
- Gently push back the cuticles using a cuticle pusher.
- Trim any excess cuticle if needed, but avoid over-trimming.
Buff Nails:
- Gently buff the surface of your nails with a nail buffer to remove shine.
- This helps the gel polish adhere better and last longer.
Clean Nails:
- Wipe each nail with a lint-free pad soaked in isopropyl alcohol or a nail cleanser.
- This will remove dust and oils from buffing.
- Apply Primer (Optional): If you have a nail primer, apply it sparingly on each nail for better adhesion.
- Prepare Gel Polish: Shake your base coat, gel color, and top coat bottles gently to mix the contents well.
Your nails are now prepped and ready for applying gel polish. Follow a step-by-step application and curing process to ensure a professional finish.
Conclusion about how to do DIY gel nails for beginners?
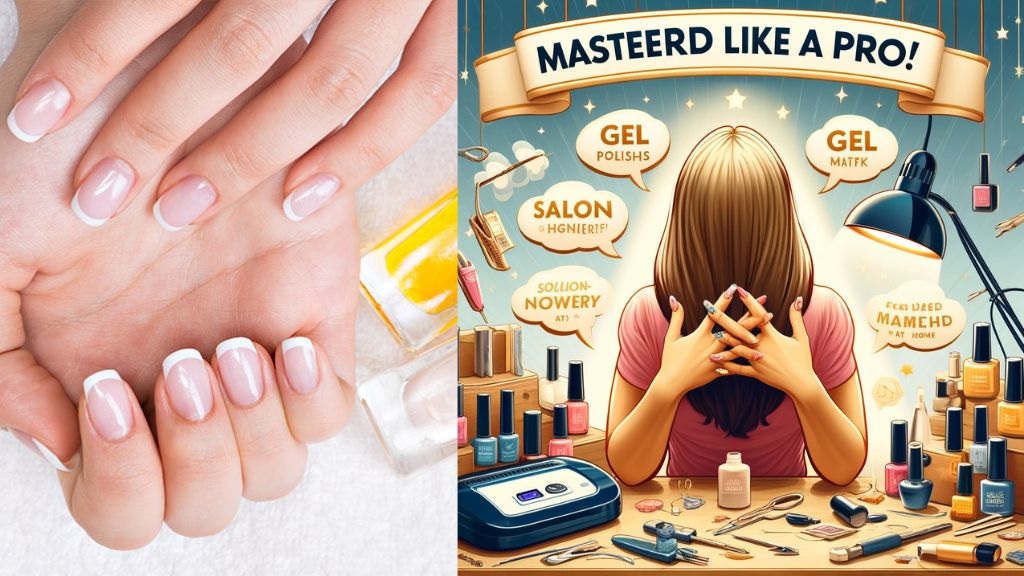
You’ve successfully achieved stunning gel nails at home, just like the professionals. With practice, you’ll become more confident in your DIY gel nail skills, allowing you to experiment with various colors and designs. By following these steps, you can enjoy long, elegant nails without breaking the bank or leaving your house. So, go ahead and pamper yourself with beautiful, salon-worthy nails from the comfort of your own home. By following these steps, you can achieve a beautiful and durable gel manicure at home. With practice, your technique will improve, making the process quicker and the results more professional.
- #1 How to do DIY gel nails for beginners at home
- #1 Debunking the Myths: Do gel nails ruin your nails?
- [ The average ] How much do nail techs make a year?
- #1 When is national nail tech day | 2027
- Comprehensive guide are pedicures safe during pregnancy

 to have themselves prettified
Add comment