
Achieving a salon-worthy manicure at home is not only cost-effective but also allows you to pamper yourself in the comfort of your own space. One essential tool that can elevate your at-home manicure routine is a manicure tray. In this comprehensive guide, we will walk you through the step-by-step process of using a manicure tray, ensuring you achieve professional results effortlessly.
What is manicure tray meaning?
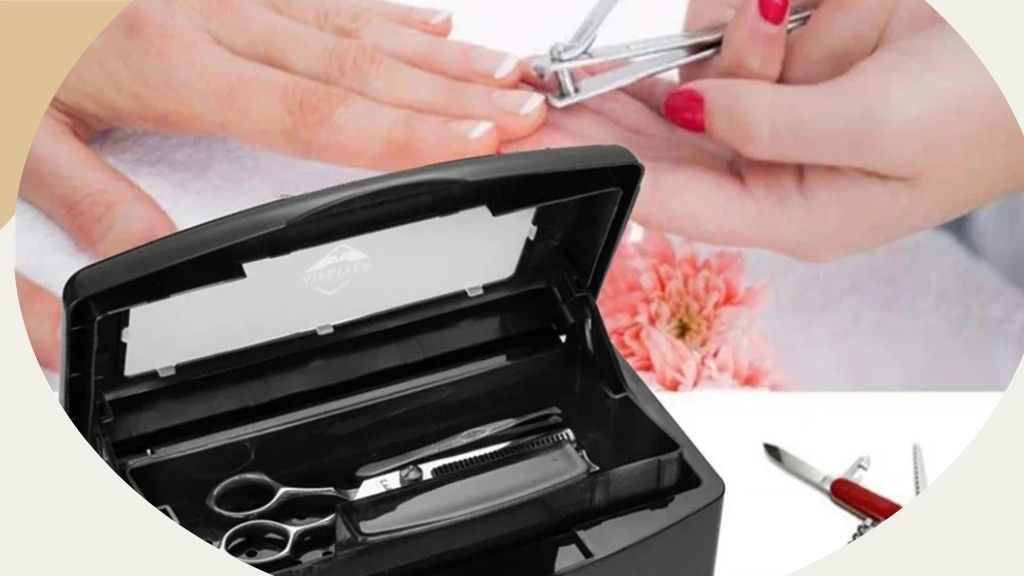
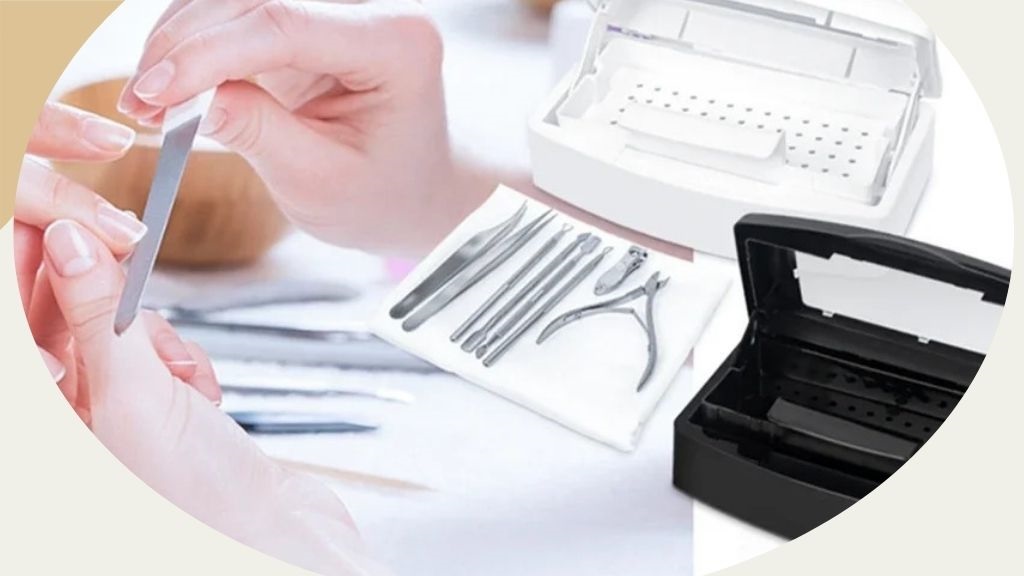
A manicure tray diy is a specific type of tray that is commonly used during a manicure, particularly for hand baths. It is typically made of plastic and has a particular shape with a removable cap. This design allows for maximum simplicity of use, as well as easy cleaning and disinfection. It serves as a flat container where all the necessary tools and implements for a manicure are placed for use. It’s an indispensable accessory for a perfect manicure.
A manicure tray is a tool commonly used in nail care, especially during manicures. Its primary function is to organize and hold various manicure instruments and supplies, making the process of doing a manicure more efficient and organized. The tray typically features compartments or sections where items such as nail clippers, files, cuticle pushers, nail polish, and other manicure-related tools can be neatly arranged.
In addition to helping with organization, a manicure tray can also include a small, shallow area designed for soaking the fingernails. This soaking area is filled with warm water, sometimes with added softening agents like soap or oils, where you can soak your hands to soften the cuticles and skin around the nails before proceeding with the manicure.
The use of a manicure tray enhances the manicure experience by keeping all necessary tools within easy reach and helping to mimic the professional setup found in nail salons. Whether for professional use or at-home manicures, a manicure tray is an essential component for a tidy and effective nail care routine.
What are the manicure tray’s uses and functions?
A manicure tray tool or equipment is an essential tool in both professional nail salons and home manicure setups. It serves several important functions and uses:
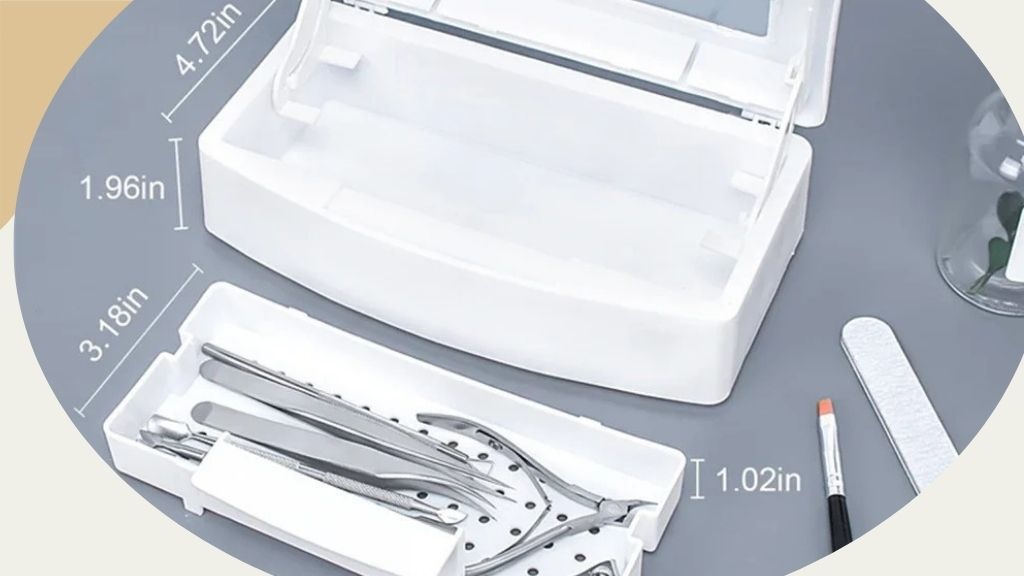
- Organization: Manicure trays are designed with compartments or sections to neatly organize and store various manicure tools and supplies, such as nail clippers, files, buffers, cuticle pushers, and nail polish. This organization aids in keeping the workspace tidy and ensures that all necessary tools are easily accessible during a manicure.
- Nail Soaking Area: Many manicure trays come with a built-in shallow area for soaking the nails. This area can be filled with warm water, sometimes mixed with soap, oils, or softening agents, to soak the fingernails before starting the manicure. Soaking helps to soften the cuticles and the skin around the nails, making it easier to manage and prepare the nails for polishing.
- Hygiene: Using a manicure tray can enhance hygiene. It provides a dedicated, clean space for conducting manicures, helping to reduce the spread of bacteria or infection, especially when the tray and tools are properly sanitized between uses.
- Professionalism and Efficiency: For professionals, a manicure tray presents a more professional appearance to clients. It allows for an efficient workflow, as everything needed for the manicure is organized and within reach.
- Portable and Convenient: Many manicure trays are designed to be lightweight and portable, making them convenient for home use or for professionals who travel to clients’ locations.
- Multifunctionality: Besides holding tools and soaking nails, some manicure trays are designed with additional features, such as built-in hand rests to provide comfort during the manicure, or areas designated for wiping off excess nail polish.
In essence, a manicure tray is a multifunctional accessory that enhances the manicure experience by providing organization, convenience, and hygiene. Whether you’re a professional a nail technician or someone who enjoys doing your own nails at home, a manicure tray is a valuable addition to your nail care toolkit.
Top 15 crucial materials used in nail care on 2027
We will discuss 15 crucial materials used in nail care and emphasize their importance in maintaining healthy and beautiful nails. So, let’s get started!
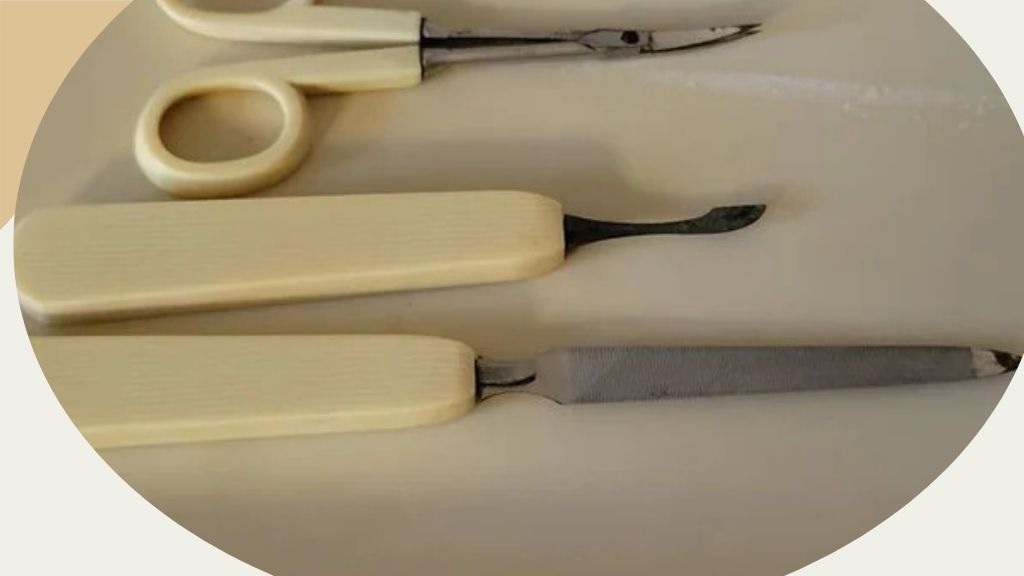
- Nail Clippers: Used for trimming the length of the nails.
- Nail File: Helps shape and smooth the edges of the nails.
- Cuticle Pusher: Used to gently push back the cuticles.
- Cuticle Nippers: For trimming excess or overgrown cuticle skin.
- Manicure Tray: Organizes and holds all the necessary tools during a manicure.
- Nail Polish Remover: Removes old nail polish and preps the nails for a new manicure.
- Cotton Pads or Balls: Used with nail polish remover for polish removal and cleanup.
- Base Coat: Applied before nail polish to protect the nails and improve polish adhesion.
- Nail Polish: Provides color and style to the nails.
- Top Coat: Applied after nail polish to seal and protect the color, add shine, and extend the manicure’s lifespan.
- Nail Buffer: Smooths the surface of the nails and gives them a glossy finish.
- Nail Brush: Used to clean under the nails and remove debris.
- Hand Cream or Moisturizer: Hydrates the hands and cuticles to prevent dryness.
- Nail Strengthener: Helps strengthen weak or brittle nails.
- Nail Soaking Dish: A container for soaking the nails in warm water, often used during a manicure for cuticle softening.
These materials are essential for basic nail care and can be give yourself a manicure at home and professional nail treatments. Depending on your specific nail care needs and preferences, you may also use additional products such as nail oils, nail hardeners, and specialized treatments to address specific nail issues.
How do i use a manicure tray for beginners step by step?
Nail care involves a variety of materials and tools to keep your nails healthy and looking their best’ using a manicure tray at home can be a simple and enjoyable process, even for beginners. Here’s a step-by-step guide to help you get started:
Gather Your Supplies:
- Manicure tray
- Warm water and mild soap or oil
- Nail polish remover
- Cotton pads or balls
- Nail clippers and file
- Cuticle pusher and cuticle nippers (optional)
- Nail polish: base coat, color, and top coat
- Moisturizer or hand cream
- Small brush or Q-tip (for cleanup)
Prepare Your Nails:
- Start by removing any old nail polish with nail polish remover and cotton pads.
- Trim your nails to the desired length using nail clippers.
- Shape your nails using a nail file, moving in one direction to avoid splitting.
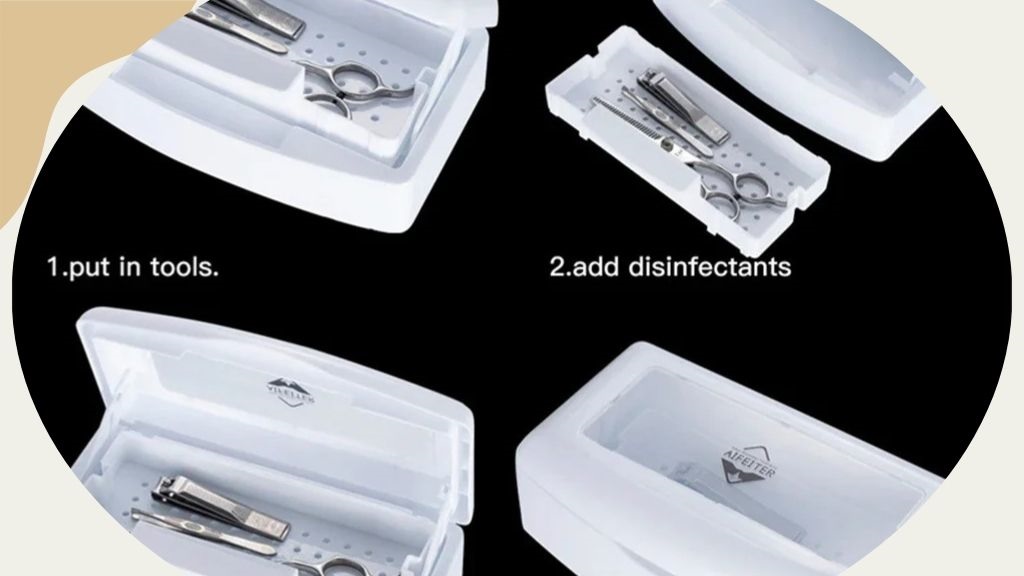
Set Up Your Manicure Tray:
Fill the soaking area of your tray with warm water. You can add a few drops of mild soap or oil for a softening effect.
Arrange your tools (clippers, file, cuticle pusher, etc.) neatly in the tray’s compartments for easy access.
Soak Your Hands:
Fill the manicure tray with warm water. You can add a few drops of essential oil or a gentle soap if desired.
Soak your hands in the tray for about 5-10 minutes. This helps to soften the cuticles and skin.
Cuticle Care: After soaking, gently push back your cuticles with a cuticle pusher. If needed, carefully trim any excess cuticle with cuticle nippers. Be cautious not to cut too much to avoid injury.
Dry and Moisturize:
- Pat your hands dry with a clean towel.
- Apply a generous amount of hand moisturizer and massage your hands, focusing on the fingers and cuticles.
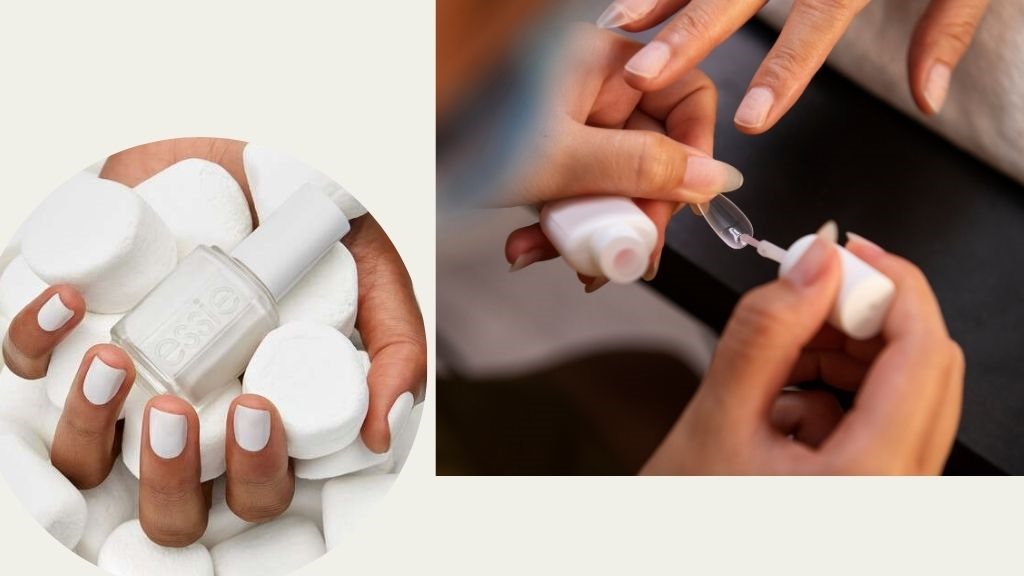
Apply Nail Polish:
- Wipe your nails with a nail polish remover pad to remove any excess oil or moisturizer (this helps the polish adhere better).
- Apply a base coat and let it dry.
- Apply your chosen nail polish in thin, even coats. Allow each coat to dry before applying the next.
- Finish with a top coat to seal in the color and add shine.
Cleanup and Maintenance
Clean any excess polish from around your nails with a cotton swab dipped in nail polish remover.
Keep your nails and cuticles moisturized, and apply cuticle oil regularly.
Aftercare:
- Allow your nails to dry completely to prevent smudging.
- Avoid strenuous activities with your hands for a while to preserve the manicure.
Additional Tips
- Make sure your tools are clean and sanitized before use.
- Avoid soaking your nails for too long as it can weaken them.
- If you have any nail problems or sensitivities, consult with a professional before performing a manicure.
- Enjoy your at-home manicure session! Remember, practice makes perfect, so don’t worry if your first few attempts aren’t perfect.
Can you recommend some good brands of manicure trays?
Certainly! There are several reputable brands that offer high-quality manicure trays, each with its unique features. Here are some recommendations:
- Tweezerman: Known for their exceptional quality in nail care tools, Tweezerman offers manicure trays that are durable and ergonomically designed.
- Sally Hansen: A well-recognized brand in the nail care industry, Sally Hansen offers a range of manicure accessories, including trays that are both functional and stylish.
- Revlon: Revlon’s manicure trays are often praised for their practicality and sleek design. They are a great choice for both beginners and experienced users.
- OPI: A professional favorite, OPI provides manicure trays that are robust and suitable for intensive use. They cater more to the professional market but are great for home use as well.
- Makartt: A popular choice for at-home nail enthusiasts, Makartt offers manicure trays that are affordable and come in a variety of styles.
- MelodySusie: This brand provides manicure trays that are often featured with portable nail drills and other manicure tools, making them a good choice for comprehensive nail care.
Remember to consider your specific needs when choosing a manicure tray. Factors like size, material, and the type of compartments can affect the functionality and convenience of the tray. Also, checking customer reviews and ratings can provide additional insights into the quality and usability of these products.
Conclusion
Using a manicure tray at home is a convenient and cost-effective way to keep your nails looking great. With these easy steps, you can achieve a professional-looking manicure without leaving your house. Remember, practice makes perfect, and soon you’ll be doing manicures like a pro!
Read more:


 to have themselves prettified
[…] Related articles: how to use of manicure tray at home step by step […]
[…] Red more: how to use of manicure tray at home step by step […]
[…] Manicure tray: A manicure tray is a flat surface, usually rectangular, designed to hold all the necessary tools and products for a manicure. It keeps these items organized and easily accessible during the nail care process. […]
[…] All manicure tools should be placed on the manicure tray for ease of working support with […]