
Welcome to the world of DIY manicures where the absence of a UV lamp doesn’t mean you can’t flaunt beautifully done gel nails. Gel nail polish is renowned for its durability and glossy finish, but many are deterred by the necessity of a UV lamp to cure it
Gel nail polish has gained immense popularity in recent years due to its long-lasting and chip-resistant properties. However, the drying process can be a bit challenging for those who don’t have access to a UV lamp or UV light. Fret not, as we bring you a step-by-step guide on how to effectively dry gel nail polish at home without the need for specialized equipment. So, get ready to achieve a professional-quality manicure with just a few simple tricks! Fear not, for this guide will walk you through alternative methods to achieve that salon-quality look at home, sans UV light.
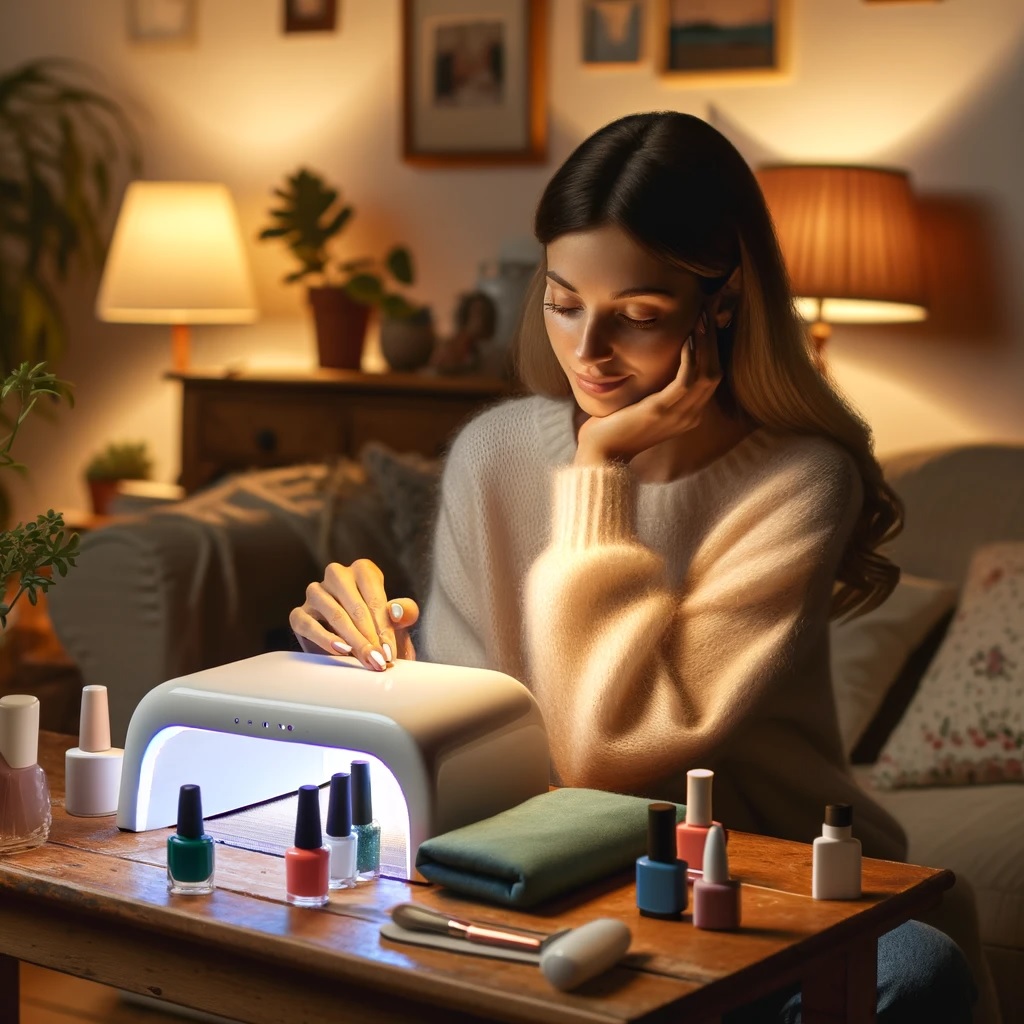
The women can applying non-UV gel nail polish, with nail care items and a small fan and hair dryer set on cool mode to help dry the polish. This setup shows a comfortable, do-it-yourself nail care environment at home.
Drying gel nail polish at home without a UV lamp or UV light involves using alternative methods since traditional gel polishes require UV/LED light to cure properly. However, there are non-UV gel polishes available that are formulated to dry without the need for a lamp. Here’s how you can dry these non-UV gel polishes at home:
Choose the Right Polish: Opt for no-light gel polishes, designed to cure without a UV or LED lamp.
Prepare Your Nails: Clean your nails thoroughly, removing any old polish, oils, or dirt. Shape your nails and gently push back the cuticles. Buff the surface of your nails lightly to create a slightly rough texture, which helps the polish adhere better.
- Apply a Base Coat: Use a base coat to protect your nails and improve the longevity of the polish. Allow it to dry completely.
- Apply Polish in Thin Layers: Apply your gel polish in thin, even coats. Thick layers take longer to dry and may not set properly. Allow each coat to dry completely before applying the next. This could take anywhere from 5 to 20 minutes depending on the brand and your environment.
- Use a Blow Dryer (Optional): If you’re in a hurry, you can use a hair dryer on a cool setting to help speed up the drying process. Hold it at a safe distance (about 6 inches) to avoid smudging.
- Apply a Top Coat: Finish with a top coat to seal in the color and add shine. Let it dry completely.
- Avoid Quick-Dry Products: Quick-dry sprays or drops are not recommended for gel polishes as they may not be effective and could interfere with the polish setting properly.
- Be Patient: Non-UV gel polishes take longer to dry than regular nail polishes. Give your nails enough time to set to avoid smudges or dents.
- Environment Matters: Try to do your nails in a cool, dry place. Heat and humidity can prolong drying times.
Method 1: Air Drying Gel Polish
- Choose the Right Polish: Start by selecting a no-light gel polish. These formulas are designed to cure without a lamp.
- Apply Thin Layers: Apply your polish in thin, even coats. Thick layers take longer to dry and may not set properly.
- Wait Patiently: Allow each layer to air dry completely before applying the next. This may take anywhere from 5 to 20 minutes depending on the polish and environmental conditions.
- Use a Blow Dryer: If you’re in a rush, a hairdryer on a cool setting can speed up the process. Hold it about six inches away from your nails to avoid smudging.
Method 2: Using LED Light
- Utilize Household LED Light: While not as effective as UV lamps, regular LED lights can help in curing certain gel polishes.
- Apply Your Gel Polish: After applying a layer, expose your nails to LED light for a few minutes.
- Repeat the Process: Continue applying layers and exposing them to LED light until you achieve the desired opacity.
Method 3: Using Cooking Spray
- Apply Your Polish: Follow your usual routine of applying gel polish.
- Spray Cooking Spray: Once you’re done, lightly spray your nails with cooking spray.
- Wait a Minute: Let the spray sit for a minute or two.
- Rinse Off: Gently rinse your hands with cold water to remove the oil without smudging the polish.
Tips for Best Results:
- Environment Matters: Work in a cool, dry area. Humidity and heat can prolong drying times.
- Patience is Key: Rushing the drying process can lead to smudges or dents.
- Nail Health: Use a nourishing base coat to protect your natural nails.
- Top Coat Magic: Finish with a high-quality top coat to add shine and prolong the wear of your polish.
- Conclusion:
- Ditching the UV lamp for gel nail polish doesn’t mean compromising on quality or longevity. With the right products and techniques, you can achieve a stunning manicure at home. Embrace the simplicity and safety of these methods, and enjoy your beautiful, self-done gel nails!
By following these steps, you can achieve a gel-like finish at home without the need for a UV or LED lamp. Remember, the key to a successful at-home gel manicure without a lamp is patience and allowing sufficient drying time between coats.
What is the best non uv gel polish?
Choosing the best non-UV gel polish can depend on personal preferences, such as desired colors, durability, and ease of application. However, some brands and products consistently receive high praise for their quality and performance in this category. As of my last update in April 2023, here are a few well-regarded options:
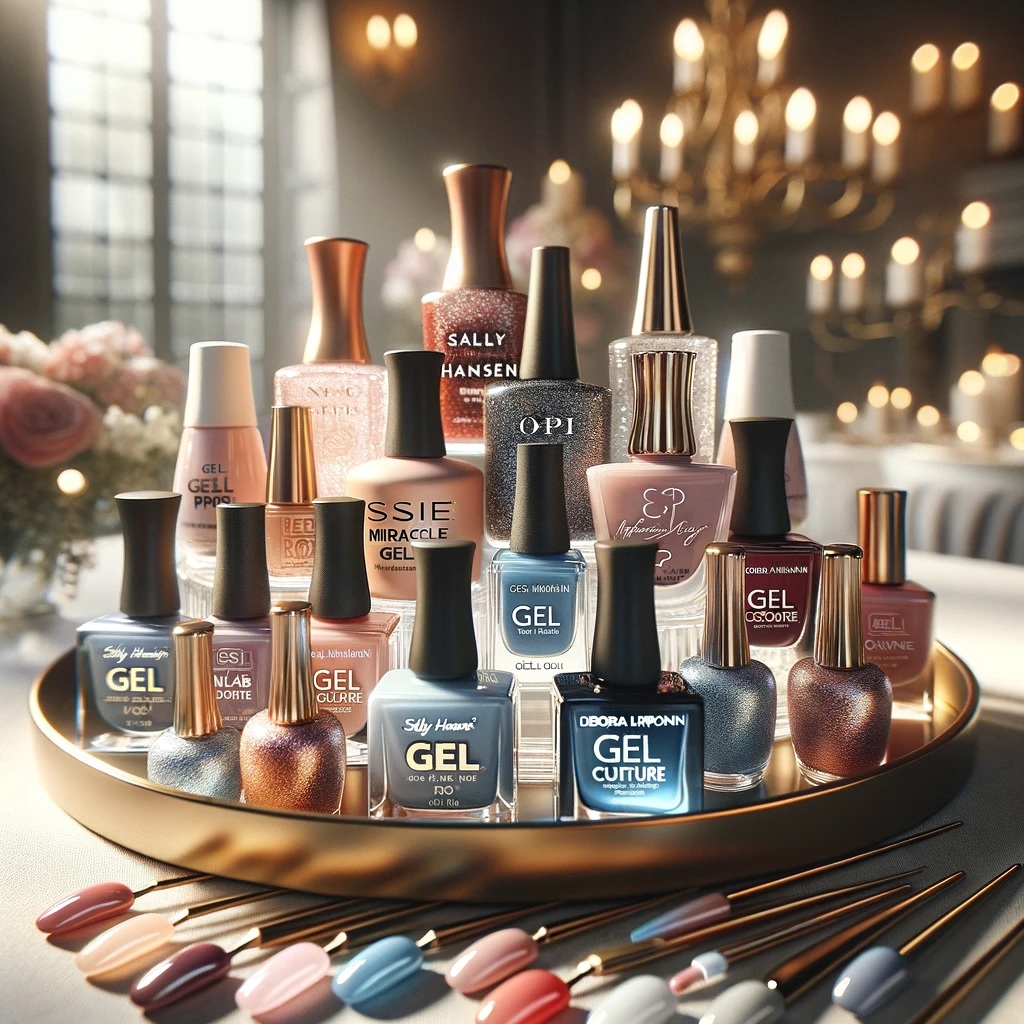
- Sally Hansen Miracle Gel: This is a popular choice for a salon-quality finish without the need for a UV lamp. It’s known for its longevity and a wide range of vibrant colors.
- OPI Infinite Shine: OPI is a trusted name in nail polish, and their Infinite Shine line offers a gel-like finish and durability without the need for a UV light.
- Essie Gel Couture: This line offers a long-lasting, chip-resistant finish and comes in many trendy colors. It’s designed to be used with a specific top coat for optimal results.
- Deborah Lippmann Gel Lab Pro: This polish promises the gloss and cushion of a gel manicure without the need for UV light. It’s also formulated to be healthier for your nails, being free of harsh ingredients.
- Le Mini Macaron Gel Polish: Known for its easy application and a wide range of cute colors, this brand offers a gel-like finish without the need for a curing lamp.
- Revlon ColorStay Gel Envy Longwear Nail Enamel: Revlon’s offering in this category is appreciated for its durability and brilliant shine, along with a decent range of colors.
When selecting a non-UV gel polish, consider factors like the ease of removal, the health of your nails, the range of available colors, and user reviews. Always remember that individual experiences with nail polishes can vary, so it might take some trial and error to find the perfect one for you.
How to dry gel nail polish with led light in house?
Drying gel nail polish with an LED light is a straightforward process, though it’s important to note that not all gel polishes are compatible with LED light curing. Make sure the gel polish you’re using is specifically formulated for LED curing. Here’s how to do it at home only 60 mins
Prepare Your Nails:
- Start by cleaning your nails. Use a nail polish remover to ensure there are no oils, dirt, or old polish on your nails.
- Shape your nails as desired and gently push back the cuticles.
- Buff the surface of your nails lightly to create a slightly rough texture. This helps the polish adhere better.
- Wipe your nails with a lint-free wipe soaked in alcohol or a nail cleanser to remove any dust and oils.
Apply Base Coat:
- Apply a thin layer of base coat specifically designed for gel polish. Make sure you cover the entire nail surface.
- Avoid getting the polish on your cuticles or skin, as this can cause lifting.
Cure Under LED Light: Place your nails under the LED lamp. The curing time depends on the strength of your lamp, usually ranging from 30 seconds to 2 minutes. Refer to the instructions provided with your polish and lamp for exact timing.
Apply Gel Polish:
- Apply a thin layer of gel nail polish. Thin layers cure more effectively and reduce the risk of wrinkles or bubbles.
- Be careful not to touch the cuticle or the skin around the nails.
- Cure the polish under the LED light, following the recommended time.
Apply Additional Coats (if needed): If you want a more opaque color, apply additional coats. Each coat should be thin and cured under the LED light as before.
Apply Top Coat:
- Finish with a thin layer of top coat to seal in the color and give a glossy finish.
- Cure the top coat under the LED light.
Cleanse the Nails: After the final cure, your nails may feel tacky. Wipe them with a lint-free wipe soaked in alcohol or a specially formulated gel cleanser to remove the tacky residue.
Nail Care: Apply cuticle oil to hydrate your nails and cuticles.
Additional Tips:
- Avoid exposure to the LED light for extended periods. Only use it as long as necessary for curing.
- If you experience any burning or discomfort, remove your hand from the light immediately.
- Ensure your workspace is well-ventilated.
- Don’t peel off gel polish as it can damage your nails. Use a proper gel polish remover for safe removal.
By following these steps, you can achieve a professional-looking gel manicure at home using an LED light.
Note: All manicure tools should be placed on the manicure tray for ease of working support with customers
How to use of manicure tray at home step by step
How long does it take to dry gel nail polish without UV Light
Drying gel nail polish without a UV light can vary in time, depending on the type of polish and the method used. Here are a few key points to consider:

- No-Light Gel Polishes: These are specially formulated to dry without a UV or LED lamp. They generally take longer to dry than traditional nail polishes but less time than UV-cured gels. It usually takes about 5 to 20 minutes for each coat to air dry. The exact time can depend on the brand and the environmental conditions (like humidity and temperature).
- Thin Layers: It’s important to apply thin layers of polish. Thicker layers take much longer to dry and might not cure properly, leading to smudges or dents.
- Environmental Factors: The drying time can be affected by the temperature and humidity of the room. A cooler and less humid environment can help speed up the drying process.
- Using a Blow Dryer: If you’re in a hurry, you can use a hairdryer on a cool setting to help speed up the drying process. Keep the dryer about 6 inches away from your nails to avoid smudging.
- Natural Drying: If you’re not using any aids like a blow dryer, it’s a good practice to wait for about 20-30 minutes after the final coat to ensure the polish is completely set.
Remember, patience is key with no-light gel polishes. Rushing the drying process can lead to imperfections in your manicure.
How long does non-UV gel nail polish last for women?
Non-UV gel nail polish typically lasts anywhere from 5 to 10 days for most women. However, the exact duration can vary based on several factors:

The longevity of non-UV gel nail polish can vary based on several factors, including the brand of polish, the application process, and individual lifestyle activities. However, as a general guideline:
- Brand and Quality: Higher-quality polishes and reputable brands often offer longer-lasting wear.
- Application Technique: Proper application plays a crucial role. This includes preparing the nail properly (cleaning, buffing), applying thin layers of polish, and using a suitable top coat.
- Daily Activities: The longevity of the polish is also affected by daily activities. Frequent exposure to water, harsh chemicals, or manual work can shorten the lifespan of any nail polish.
- Nail Health: Healthier nails tend to hold polish better, contributing to longer wear time.
- Environmental Factors: Extreme temperatures and humidity can affect how well the polish adheres and lasts.
Some brands may claim their non-UV gel polishes last up to 14 days, but this is often the upper limit under ideal conditions. For most users, expecting a solid week of wear is reasonable. Remember, individual experiences can vary significantly based on personal habits and nail care routines.
Read more: how to nail polish a child’s manicure at home for beginners
Can I use a hair dryer to dry my gel nail polish?
Yes, you can use a hair dryer to help dry gel nail polish, but there are some important considerations to keep in mind:

- Use the Cool Setting: Always use the cool setting on your hair dryer. Heat can prevent the polish from setting correctly and may cause it to smudge or warp.
- Distance: Keep the hair dryer at least 6 inches away from your nails. This helps to avoid smudging the polish and blowing dust or debris onto your wet nails.
- Short Bursts: Use the dryer in short bursts rather than a continuous stream. This is to prevent the polish from heating up too much and to avoid blowing the polish around.
- Type of Polish: This method is generally more effective for non-UV gel polishes, which are designed to dry without the need for a UV or LED lamp. Traditional UV/LED gel polishes require specific wavelengths of light to cure and won’t set properly with a hair dryer.
- Patience is Still Necessary: While a hair dryer can speed up the drying process, non-UV gel polishes can still take longer to dry than regular nail polishes. Allow sufficient time for the polish to set.
Remember, the hair dryer method is more about speeding up the air-drying process rather than curing the polish as a UV or LED lamp would. For traditional UV/LED-cured gel polishes, a hair dryer cannot substitute for the curing process.
- #1 How to do DIY gel nails for beginners at home
- #1 Debunking the Myths: Do gel nails ruin your nails?
- [ The average ] How much do nail techs make a year?
- #1 When is national nail tech day | 2027
- Comprehensive guide are pedicures safe during pregnancy


 to have themselves prettified
Add comment